Rnd 2
Mustard
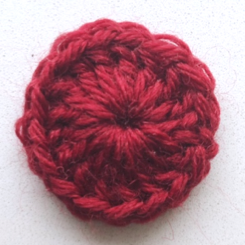
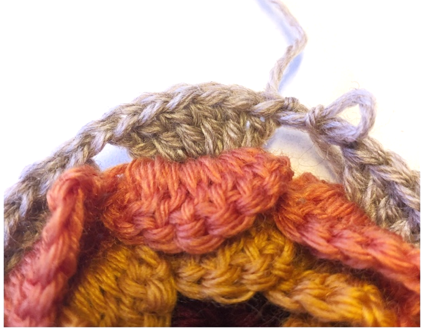
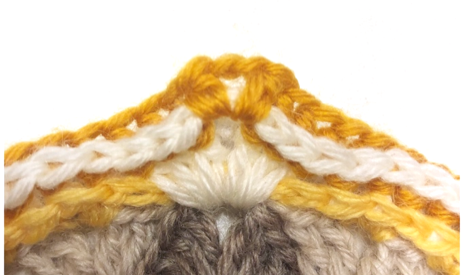
SSsc into any st of previous rnd, sc in the next 2 sts, turn your work, wrong side facing, ch 3 (photo 2/1), (working towards the beginning of the round),
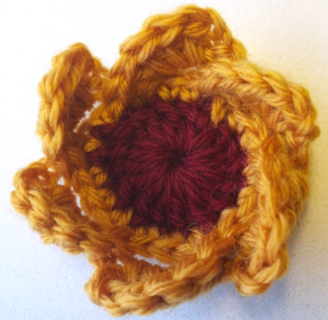
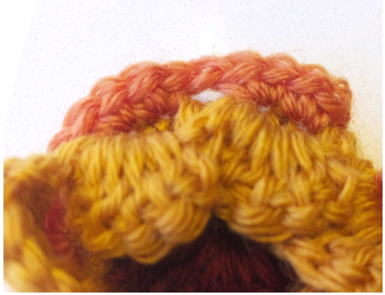
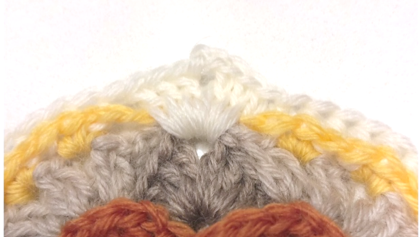
sk 2 st, sc into 1st st of the rnd (photo 2/2). Turn your work, right side facing, ch 2, 5 dc into ch3-sp (photo 2 /3).
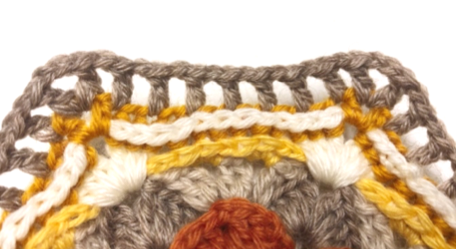
* sc in next 3 sts (photo 2/4), turn your work, wrong side facing, ch 3, (working towards the beginning of the round), sk 2 sts, sc
into the last ch3-sp after dc. (photo 2/5), Turn your work, right side facing, ch 2, 5 dc into ch3-sp.* 4 times. sc in next 3 sts (note: the last sc is made in same st as 1st sc of the rnd).
Turn your work, wrong side facing, ch 3, (working towards the beginning of the round), sk 2 sts, sc
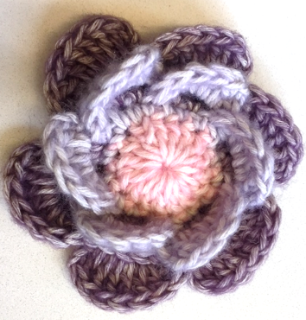
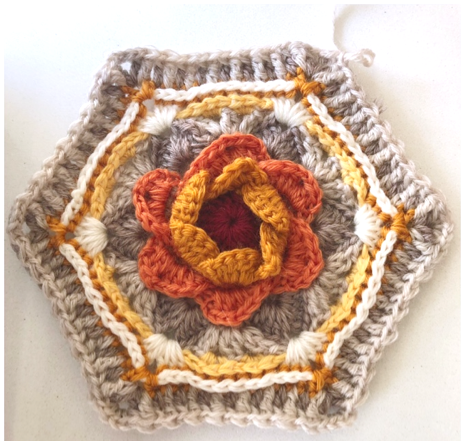
into the last ch3-sp after dc. (photo 2/5), Turn your work, right side facing, ch 2, 5 dc into ch3-sp, join to 2nd sc of rnd with slst. (The last petal’s left side lies in front of rnd 1 petal’s right side). Cut yarn and secure ends.
(Hint: all groups of 3sc will be called “petal foundation” row from here on)
[(4 sc, ch3-sp, ch2-sp, 5 dc) 6 times]